This proof-of-concept hack was inspired by the now discontinued Power Pwn (and this). Originally $1,195, you can build a modernized version for less than $100.
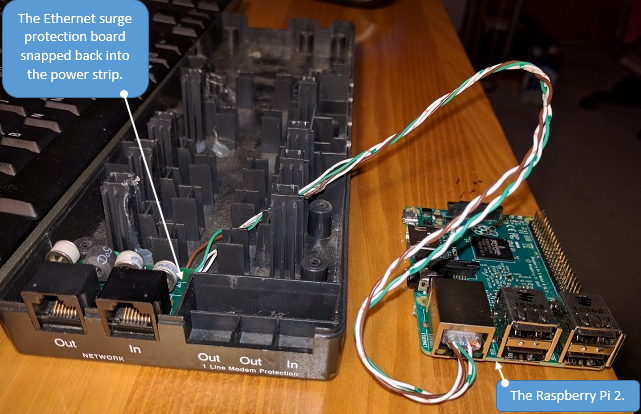
The result is a power strip that functions as a very stealthy pen testing drop box.
Recommended Skills:
Basic electrical and electronic soldering and wire stripping
Basic working knowledge of electrical and electronic systems
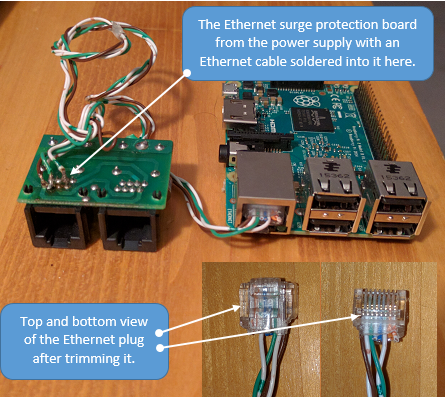
Basic understanding of Ethernet wiring
Moderate to advanced understanding of computers and technology
Materials:
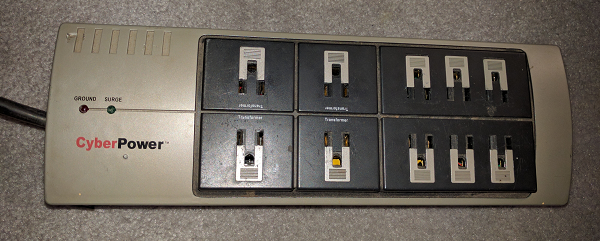
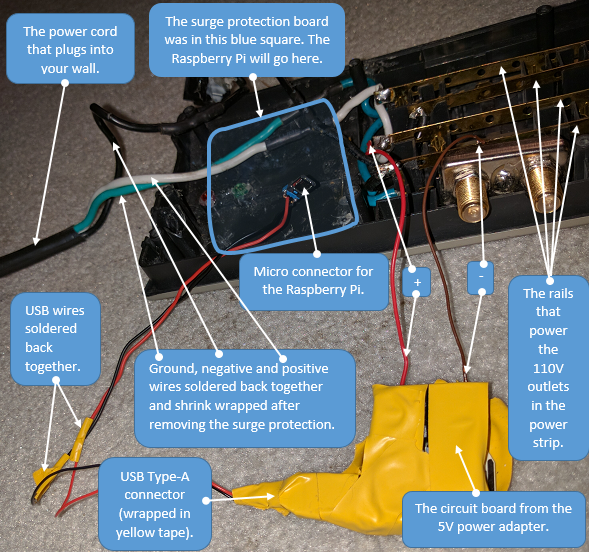
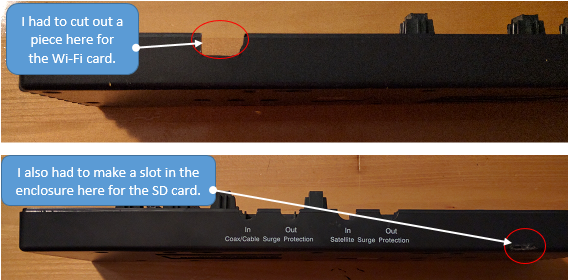
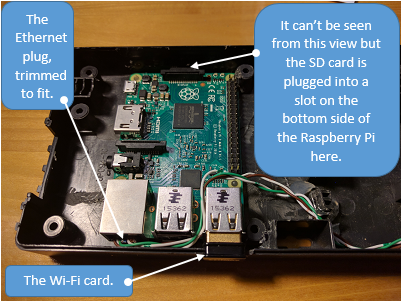
A power strip with Ethernet surge protection, large enough to house a Raspberry Pi 2 circuit board
A Raspberry Pi 2 (You can also use a Raspberry Pi 3.)
A very small USB WIFI card
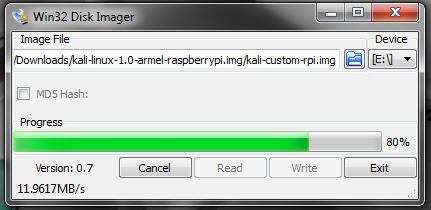
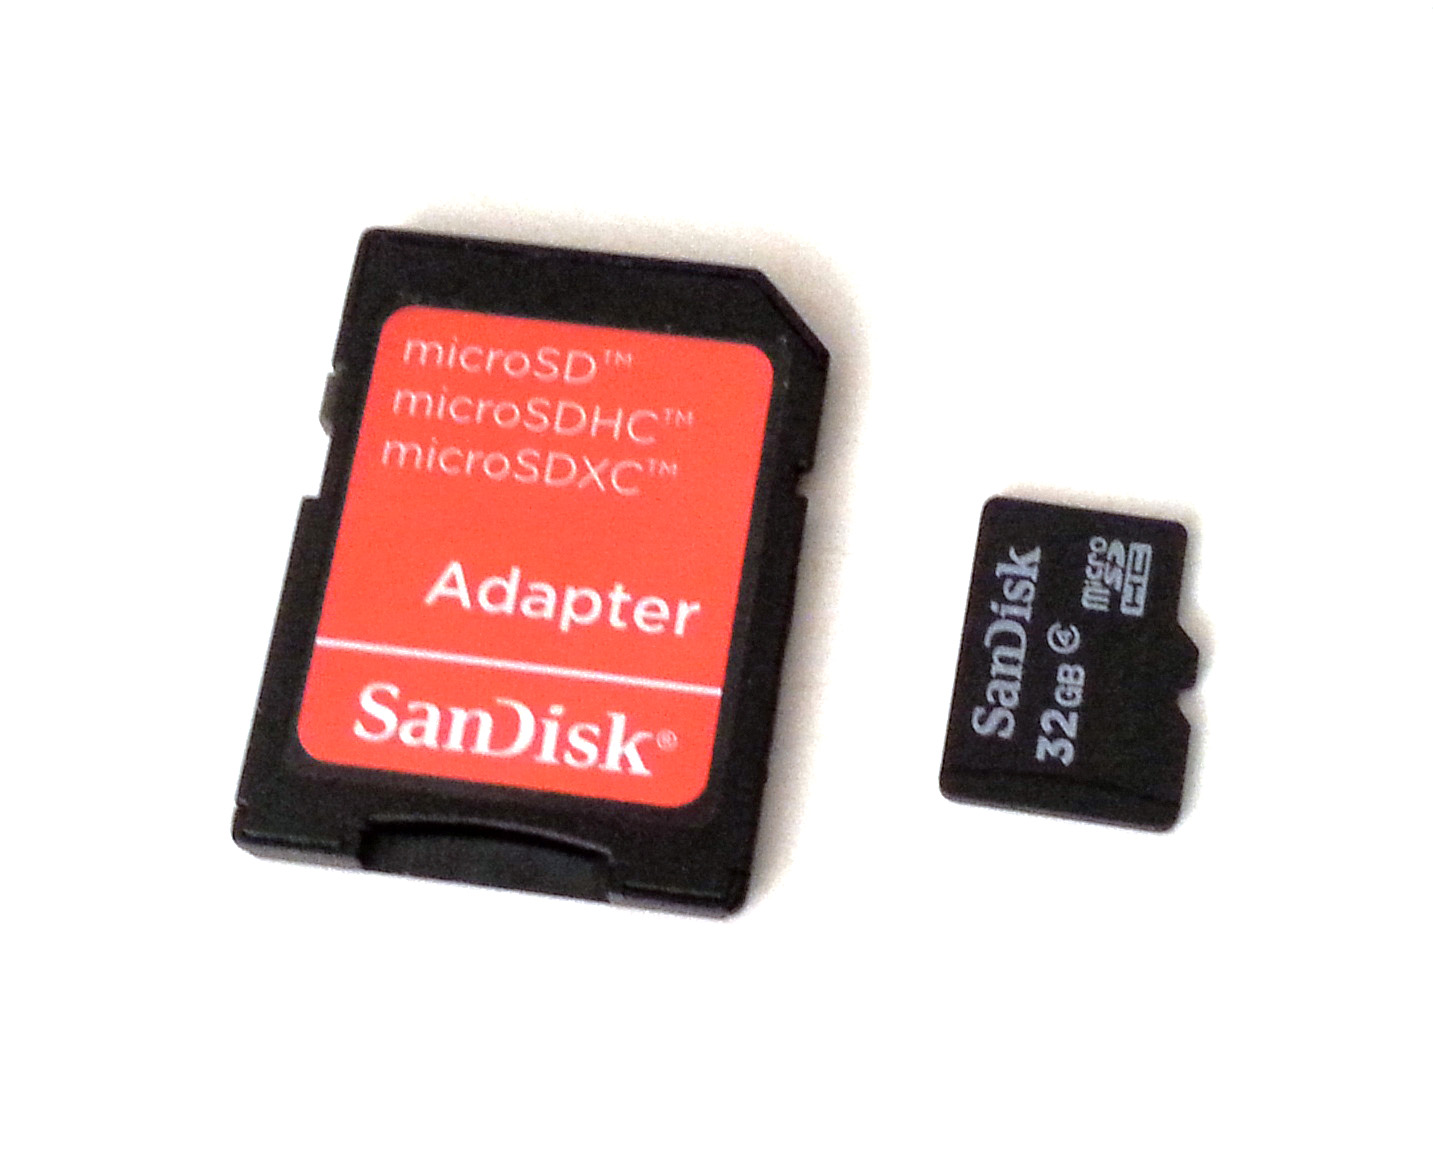
A micro SD card 8GB or larger
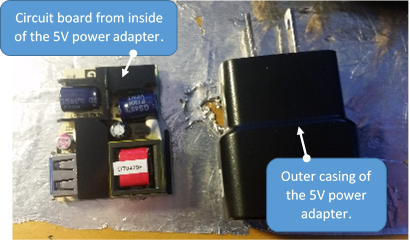
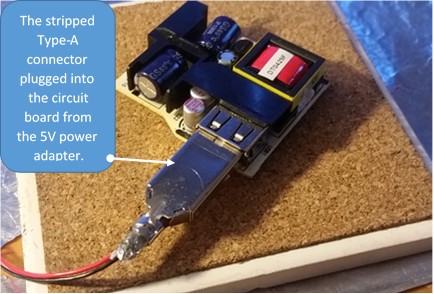
A small thin 5V 1A USB power adapter (Squarish ones like the ones from the iPhone are small but too thick.)
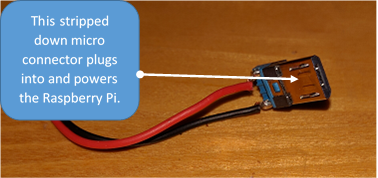
A standard micro USB cable
An Ethernet cable, 2 ft. or longer
A working computer (Windows or Linux is preferable) with an SD port and an adapter for a micro SD card (Or a compatible micro SD USB adapter.)
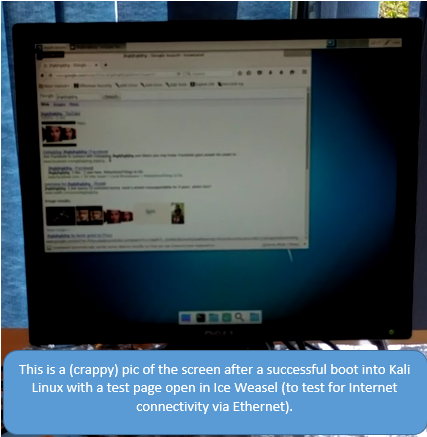
An HDMI capable monitor or TV and an HDMI cable (To test boot the Raspberry Pi.)
Tools:
A soldering iron and solder
Needle-nose pliers
A utility knife/razor
Wire snips
A multimeter
A hot glue gun is helpful but not necessary
A Dremel tool with a small saw is helpful but not necessary
:::
DANGER, WILL ROBINSON (seriously):
This project requires modifying and working with a 110V electrical circuit. You risk health and safety if the connections are wrong. Use extreme caution and follow these instructions at your own risk. And don’t do anything that might land you in jail. Seriously.
Also be very careful with the electronic components used in this project. Static electricity will fry a circuit board. Take proper precautions.


