Finding the Encryption Key
Now that we have our traces, we can go ahead and perform the attack. As described in the background theory, we'll have to do two attacks - one to get the 14th round key, and another (using the first result) to get the 13th round key. Then, we'll do some post-processing to finally get the 256 bit encryption key.
14th Round Key
We can attack the 14th round key with a standard, no-frills CPA attack:
- Open the ChipWhisperer Analyzer program and load the
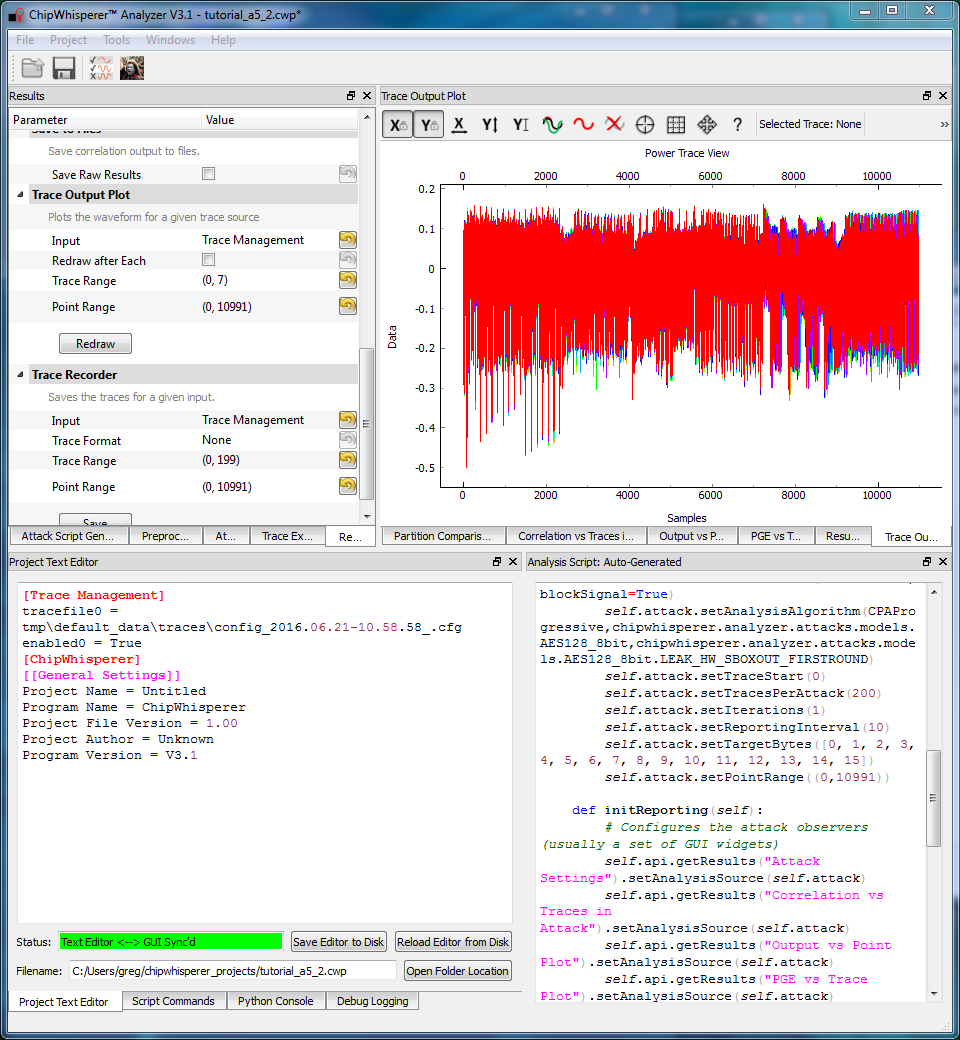
.cwpfile with the 13th and 14th round traces. This can be either theaes256_round1413_key0_100.cwpfile downloaded or the capture you performed. - View and manipulate the trace data with the following steps:
- Switch to the Trace Output Plot tab
- Switch to the Results parameter setting tab
- Choose the traces to be plotted and press the Redraw button to draw them
- Right-click on the waveform to change options, or left-click and drag to zoom
- Use the toolbar to quickly reset the zoom back to original
- Set up the attack in the Attack settings tab:
- Leave the Crypto Algorithm set to AES-128. (Remember that we're applying the AES-128 attack to half of the AES-256 key!)
- Change the Leakage Model to HW: AES Inv SBox Output, First Round (Dec).
- If you're finding the attack very slow, narrow down the attack a bit. Normally, this requires a bit of investigation to determine which ranges of the trace are important. Here, you can use the range from 2900 for 4200. The default settings will also work fine!
- Note that we do not know the secret encryption key, so we cannot highlight the correct key automatically. If you want to fix this, the Results settings tab has a Highlighted Key setting. Change this to Override mode and enter the key
ea 79 79 20 c8 71 44 7d 46 62 5f 51 85 c1 3b cb. - Finally, run the attack by switching to the Results Table tab and then hitting the Attack button.


.png)